Bring hard data to every site visit
Continuous housing readings between visits, for calf-pen pneumonia risk or adult cattle heat and shed conditions. Turn that record into clear reports for the farmer, based on what the animals lived through, not only what the building looked like on the day you called.
A repeatable process across your practice
-
Install where the risk is
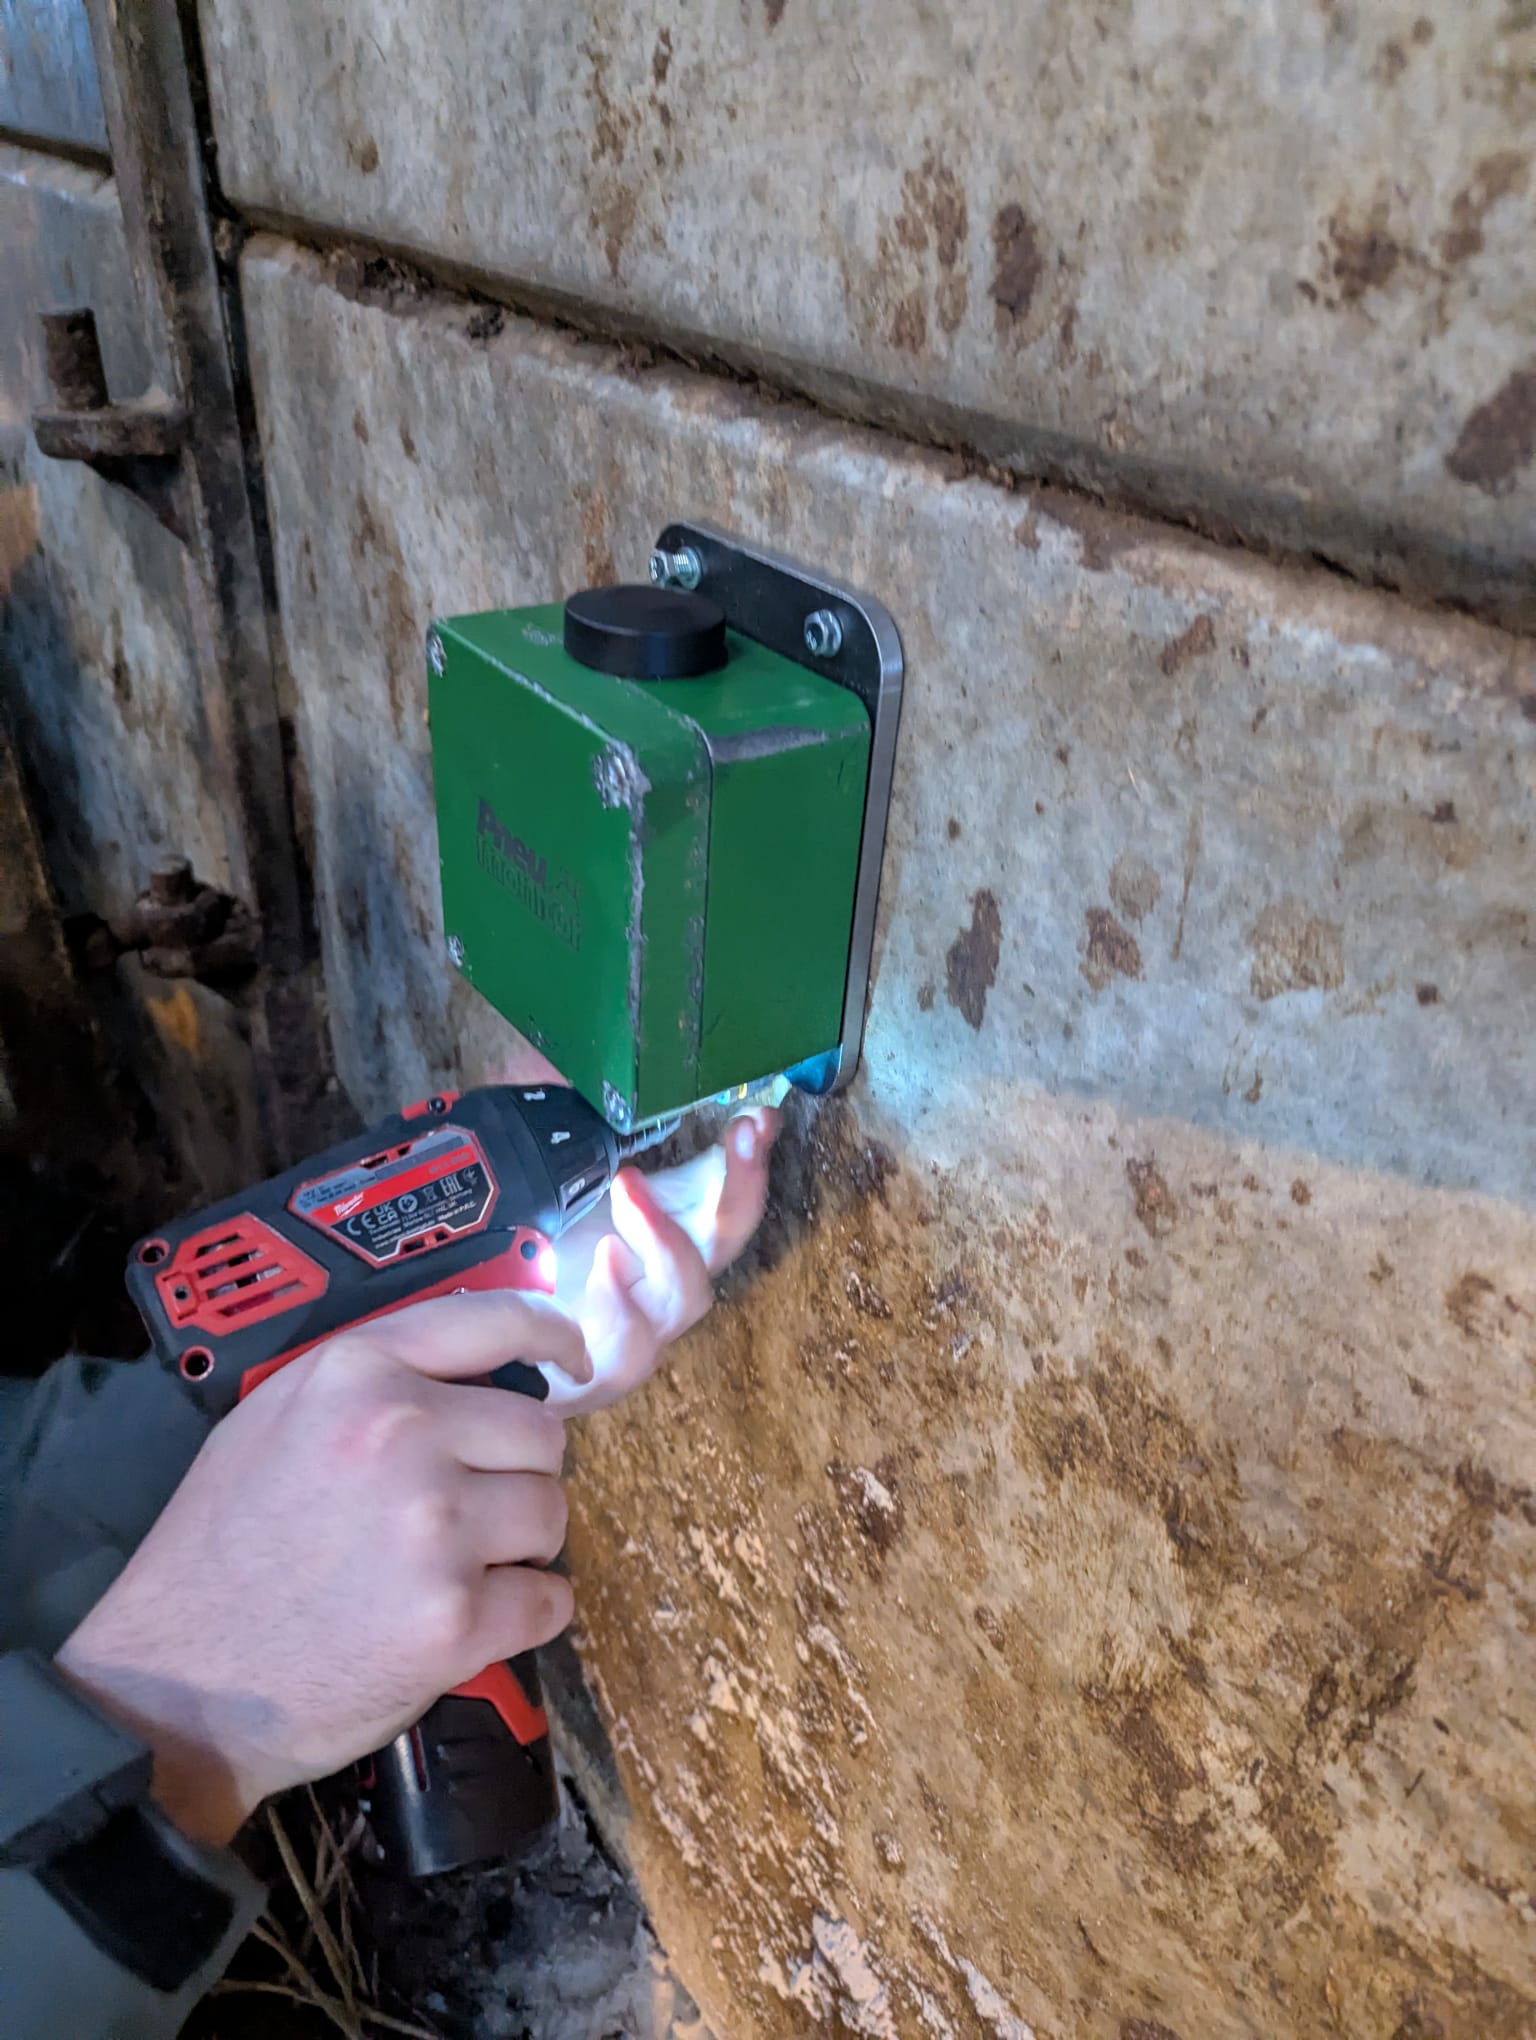
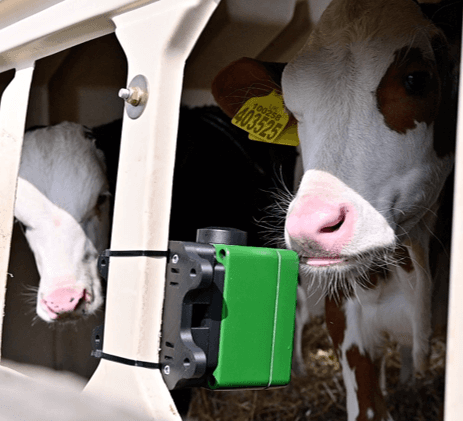
Put Pneumonitor in problem calf pens or adult housing hot spots. Mount it in the microclimate the animals actually live in, then get it reading quickly.
-
Capture objective data between visits
Temperature, humidity and ammonia stream to a shared dashboard, so you are not relying on a snapshot from the day you happened to be on farm.
-
Optional farmer notifications
If it helps, turn on alerts for the farmer when housing conditions look risky. Keep them off when you only need practice-level visibility.
-
Advise with evidence
Use the record to back housing and management changes. Turn continuous readings into clear reports you can share with the farmer, so the conversation moves from “the shed feels a bit stuffy” to measured patterns.
-
Move it to the next farm
Clean it, charge it, redeploy it. The same unit can support more than one client without leaving kit stranded after one investigation.
Common questions from vets
Install it where the risk is, capture objective environment data between visits, then move it to the next farm when you are done. That can be calf pens for pneumonia risk or adult housing for heat and shed conditions.
Yes, if you want them to. Alerts are opt-in and configurable by farm and person, so you can keep practice-level visibility while the farmer only hears about the farms that matter to them.
Yes. Starting points can follow AHDB-based guidance, and you or the farmer can adjust them to suit the unit and the use case.
No. Pneumonitor is standalone: mobile data and battery power.
There is often just enough signal to transmit data even when your phone says there's none at all.
The app is optional. The online dashboard is enough for reviewing data. Use the app only if you want notifications.
Want Pneumonitor in your practice toolkit?
Tell us how you work with calf units and dairy clients. We will help you plan a simple deploy-and-move workflow, with reporting that makes housing advice easy to share.